I’ve been using a Chromebook as my main computer for months now, and for almost everything, it’s a great laptop.
Almost everything. The one thing it lacks is halfway usable file management. The ChromeOS file manager is like using a particularly clunky website from 2009 which needs to sync to the server every time it as much as breathes. Trying to organise my files has been agony.
Then, in a belated flash of inspiration, I realised the solution, and now I have a file manager that works as well or better than Windows file explorer and Mac’s Finder.
(You can scroll down a bit for the actionable stuff. I will overlook your rudeness).
Why does file organisation matter? Doesn’t ‘search’ do everything we need now?
Maybe. But for an old fart like me. I like to have my stuff logically filed in folders, because that’s what I learned in the 80s when I first started using computers. I don’t trust searching, entirely, and more importantly, duplicates proliferate if you’re not careful, and when you’re collaborating on a document it’s easy to miss someone else’s changes and comments. And clients don’t like that.
So here’s the way to avoid that on a Chromebook.
Here’s the TLDR: newish Chromebooks make it easy to use Linux apps, so I installed a Linux file manager. Specifically, Nemo. Voila, I have have proper file manager.
If that’s the info you need, have at it. Go and install Nemo, and may you and your descendants prosper.
If that sounds scary but you still want a decent file manager, let me walk you through it.
The tiny (I promise) downside here is having to tangle minimally with Linux’s command line terminal - a charmingly retro way of typing apparently gibberish into the laptop so you look like a hacker in a film. When I say minimally, I mean copying and pasting a couple of lines of terminal commands from this post. Which is very minimal.
Here we go:
1. Firstly enable Linux on your Chromebook
…If you haven’t already. Open up Settings and typ ‘Linux’ in the search box. You’ll get the settings page related to Linux things. (Ignore the orange 4 and 5 on this screenshot).

Pick the bottom option to Enable Linux development environment. It just means your Chromebook will be part Linux now. You’ll need to give it a bit of hard drive to use. Four gigs will be more than enough for our purposes and shouldn’t affect ChromeOS
Without going Full Linux, there’s no shiny pretty app like the Play store, or App store etc. to find and install programmes (or as Linux calls them, ‘packages’) from. The ‘store’ does exist, though it’s called a repository. In the absence of a shiny app store, you have to use text commands in the Terminal to install programmes.
2. Install Nemo using the Terminal.
You get to the Terminal by hitting the Everything key and typing ‘Terminal’ then clicking on the icon.
 (The yellow scrawls are obscuring my Google ID. You should have your ID in their place)
They look impenetrable, but they’re just the equivalent of clicking ‘get’ or ‘install’ buttons. sudo apt install nemo
The internet is riddled with people who are far better equipped than I am to explain Linux command lines, so I encourage googling. However, in painfully simplistic terms:
SUDO - tells the Chromebook you have the right to install things (NB Linux heads: yes, I know it’s not quite that simple. But it will do for our purposes for the moment).
APT - tells it you want to install, update or remove a package
INSTALL - shockingly, this instructs the system you’re choosing the install option
NEMO - … and this is what you want it to install
Anyway, copy and paste those four words into the Terminal. You’ll get a rather cinematic scrolling commentary of what the Chromebook’s doing, stopping when it asks you whether you want to go ahead.
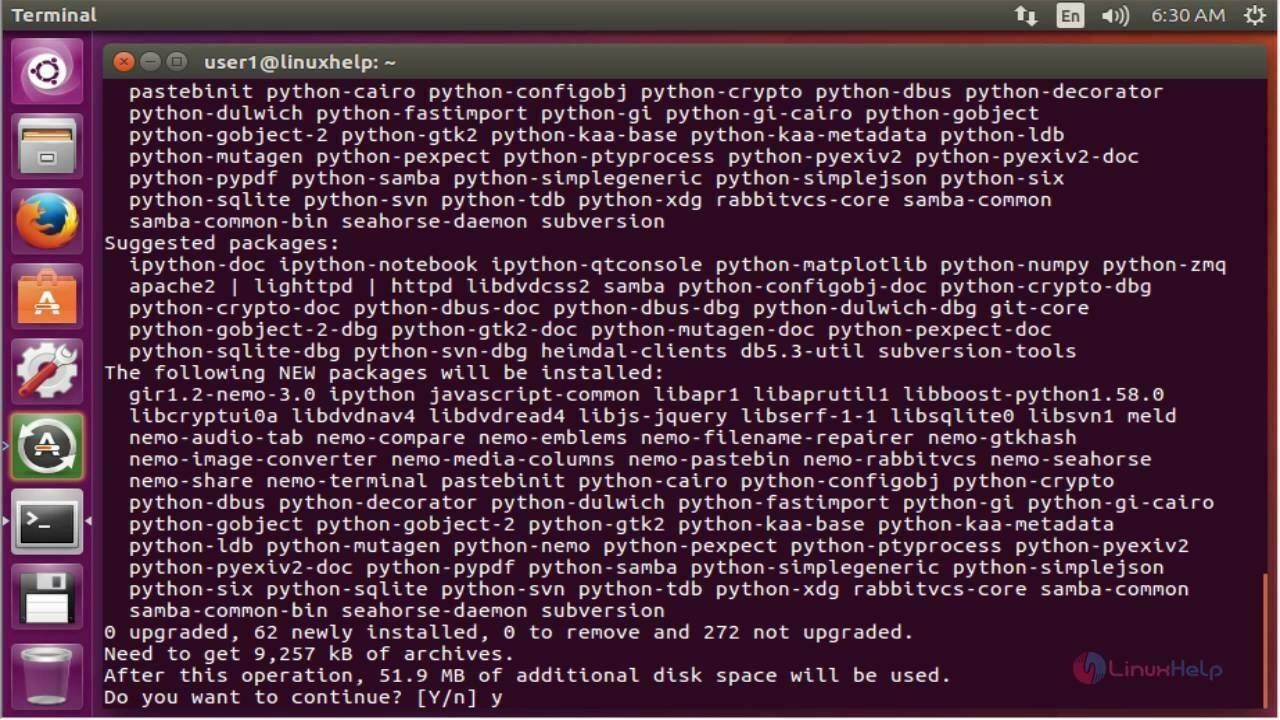
Thrillingly, like a 1980s BBC Micro text adventure, you can type ‘Y’ and hit return to go ahead.
There will be more cinematic scrolling and when it’s done, you’ll be back to the prompt.
This concludes your adventure with the Linux command line. You can return triumphantly to your ChromeOS village now you’ve accomplished your mission and vanquished the forces of darkness.
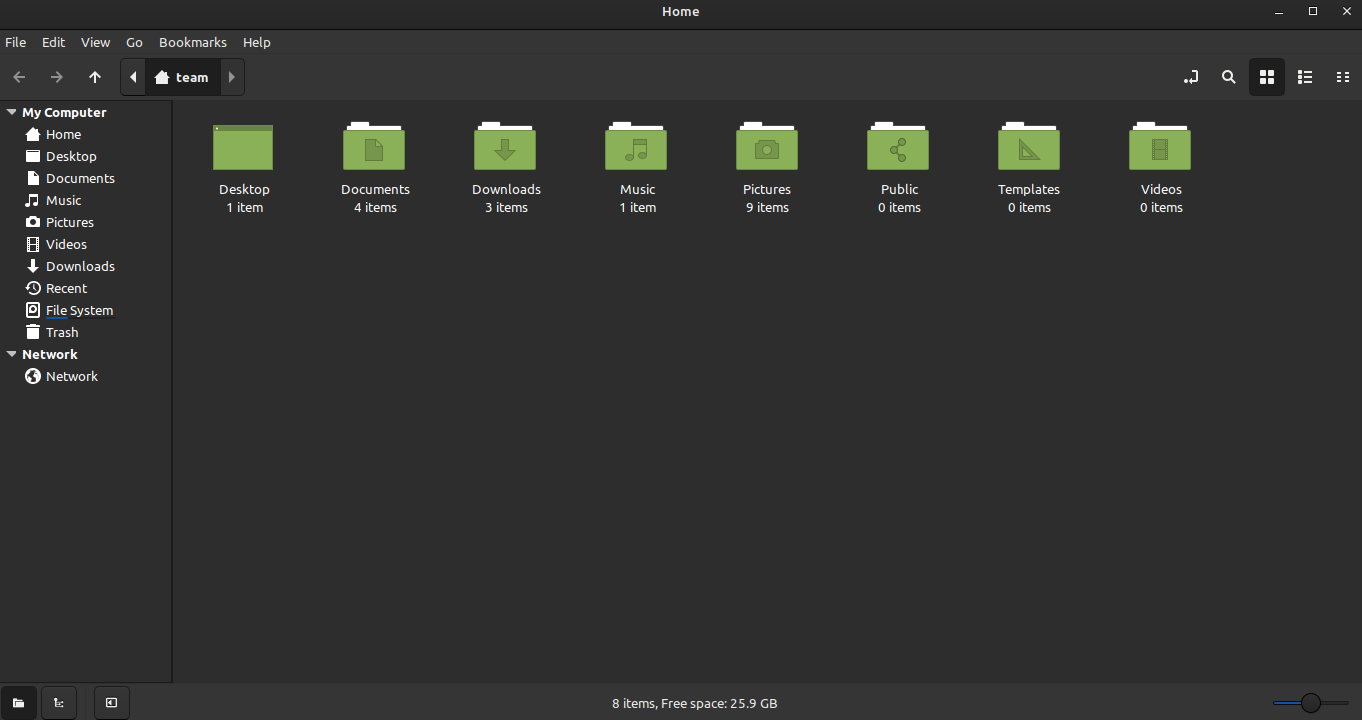
3. Run Nemo.
Most easily done by hitting the ‘Everything’ key and searching for Nemo. Sometimes it’s called ‘Files’. Either way, it’ll be represented by a little penguin icon, which you can click on. Assuming all’s well, you’ll now get a very recognisable file manager window, something like this.
The icon will also be in your ‘shelf’, so you can pin it in the usual way for future use.
Since the lack of a proper file manager has bothered you enough to get this far, I’m assuming you can figure it out yourself, mostly.
IMPORTANT FACTS TO PREVENT LOSS OF ALL YOUR FILES
However, given you’re using Linux and you’re on a Chromebook, a couple of things to bear in mind.
The main one being:
YOUR FILES ARE IN /mnt/chromeos/.
LEAVE EVERYTHING ELSE ALONE UNLESS YOU KNOW WHAT YOU’RE DOING.
There will be two folders (aka directories): MyFiles and GoogleDrive. MyFiles (/mnt/chromeos/MyFiles)
MyFiles is part of the Linux system. MyFiles isn’t synced anywhere, it’s just on your hard drive.
GoogleDrive (/mnt/chromeos/GoogleDrive/MyDrive)
This is where your Google Drive files are. It’s a mirror of your Google Drive, which you will already be using as part of normal Chromebook operations.
However.
If you’re clicking into that folder now, you may have noticed it’s not showing any of your Google Drive files. Do not panic.
This is what you need to do.
One last time, you will need to return to the ChromeOS file manager. Think of it as closure so you can move on. You need to make custody arrangements for your files.
You need to tell ChromeOS to let Linux see its files and folders.
You do this by right-clicking on the folder or file and choosing ‘Manage Linux Sharing’, and turning it on. Whatever you do will apply to that folder and everything it contains.
You might have to close and re-open Nemo at this point so it registers it can now see the files. On the other hand, you might not.
The back in your Nemo, for your own sanity, I suggest right-clicking on your most used folders and choosing ‘favourite’ so they appear in the box of favourite places in the left of the Nemo window and you don’t have to traverse through your folders all the time.
That’s pretty much it.
One last thing: I’m not a Linux head. If you want to know more about it, I suggest googling and also reddit.com/r/linux4noobies. I’ve mostly used the excellent instructions on Chromeunboxed However, it was written a few years ago, before Chromebooks made using Linux so easy, so a lot of the stuff about permissions doesn’t apply any more.
Enjoy endless fiddling about with your files but slightly more conveniently.